


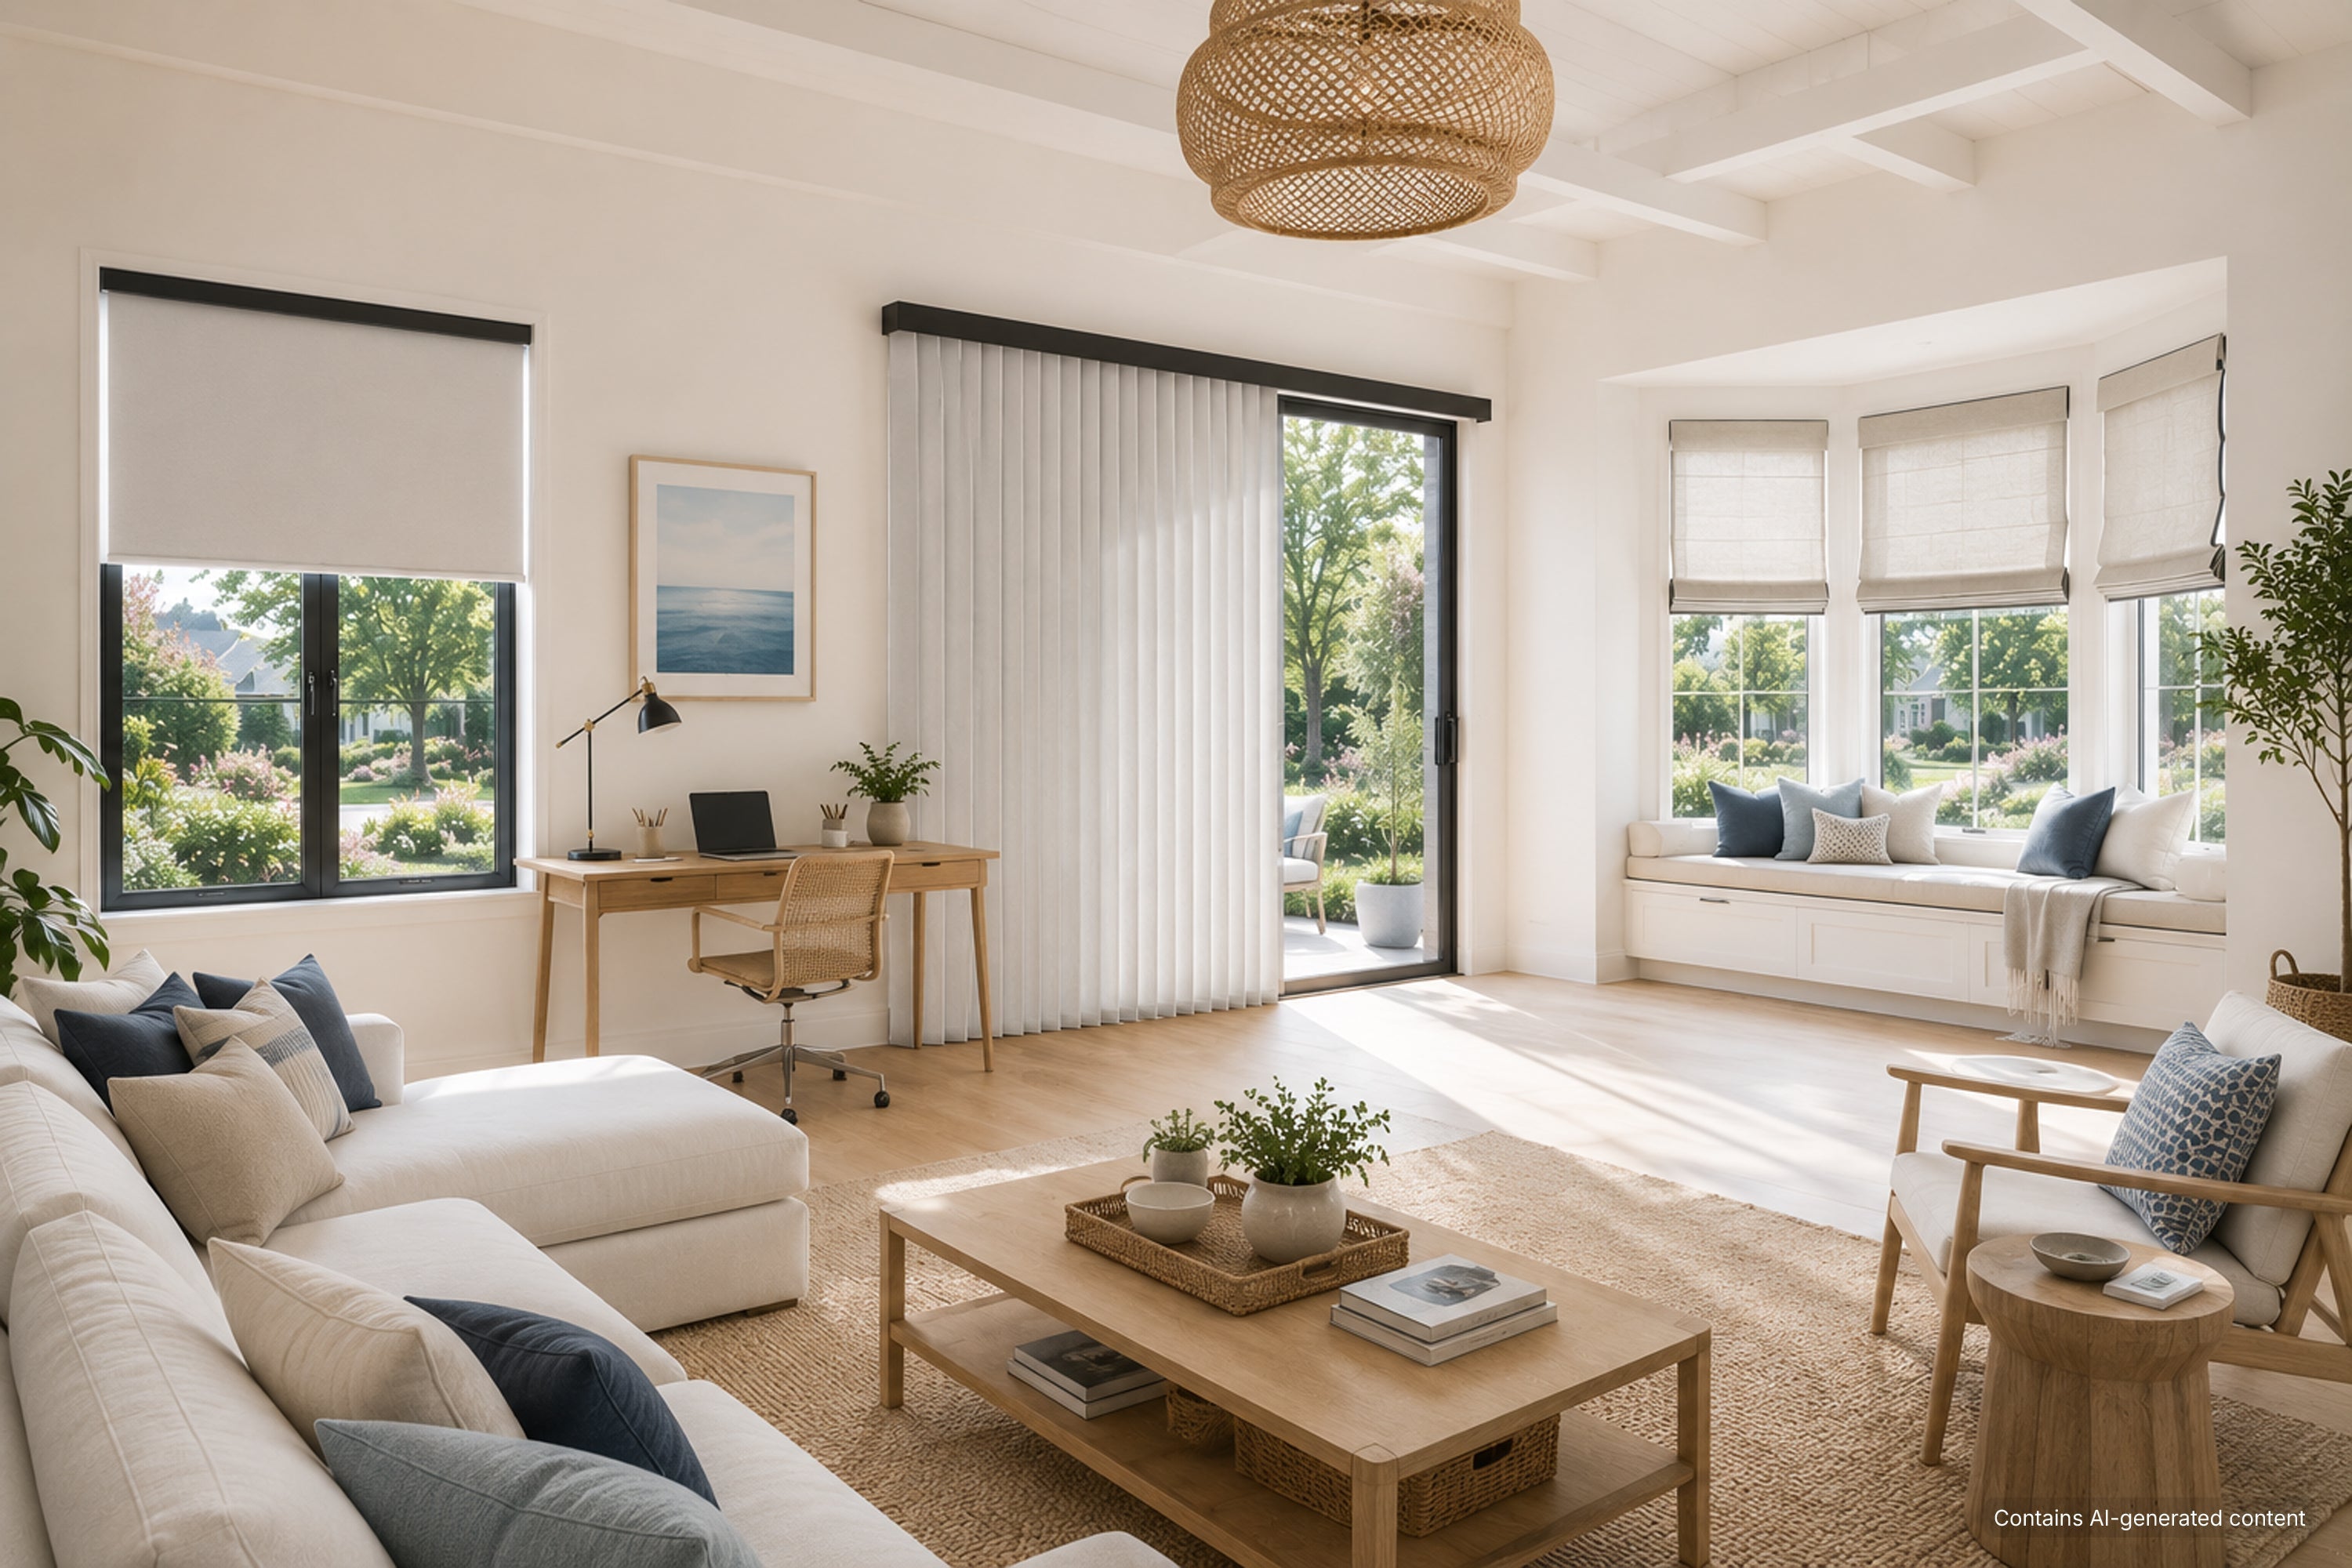
Found a window treatment you love? Before you click "Add to Cart," take a closer look at your window.
The truth is, the best window treatment isn't always the one that looks best online, it's the one that works best with your window's shape, depth, hardware, and everyday use. A little planning upfront can save you from light gaps, blocked handles, and installation headaches later.
This guide will help you identify your window type and choose a treatment that fits both your space and your lifestyle.
Start with Your Window Before Choosing a Treatment
You don't need to be a designer or installer to make the right choice. By spending a few minutes assessing your window first, you'll have a much clearer idea of which treatments will fit properly, operate smoothly, and deliver the look you're after.
1.Check the Frame Material Before Choosing An Installation Method
Your window frame material plays a bigger role than many homeowners realize. It doesn't just affect how a treatment is installed, it can also influence which mounting options are recommended and whether modifications should be avoided altogether.
Traditional wood frames are generally the most installation-friendly. They can accommodate a wide variety of mounting methods and often provide sufficient material for securely attaching brackets and hardware.
Aluminum and vinyl (PVC) frames require a more careful approach. Depending on the frame construction, drilling into thin sections may not provide the same holding strength as wood, while improper installation can affect the appearance of the frame over time. In these situations, no-drill, tension-mounted, or adhesive-based solutions may be worth considering.
Special attention should be given to modern energy-efficient window systems, such as thermal-break aluminum windows, double-glazed windows, and tilt-and-turn windows. These designs are engineered to improve insulation and thermal performance, and unnecessary drilling or frame modifications may compromise their intended function. Whenever possible, it's best to choose installation methods that secure the treatment without interfering with the window's structural or thermal design.
Before focusing on colors, fabrics, or operating styles, take a moment to identify what your window frame is made of. That simple step can help narrow your options and guide you toward installation methods that work with the window, not against it.

2.Measure Depth and Clearance Before You Shop
Before you fall in love with a style, take a quick look inside the frame, because depth quietly decides what will actually work.
Inside mount treatments need room to sit comfortably within the window opening. As a simple reference:
- More than 2.5 inches (≈ 6–7 cm):
You’re in a comfortable zone. Most inside-mount blinds and shades will fit and operate smoothly.
- Around 1.5–2.5 inches (≈ 4–6 cm):
A tighter fit. Slim-profile options like cellular shades or low-profile roller shades usually work best here.
- Less than 1.5 inches (≈ 3–4 cm):
The frame is quite shallow. In this case, inside mount becomes restrictive, and it’s often easier to switch to an outside mount or choose cellular shades with compact headrails that don’t demand much depth.
When you measure, always check the tightest point inside the frame, not just the overall opening. Small details, like rubber seals or uneven edges, can make a bigger difference than expected.
And if the space feels cramped, that’s not a problem to “fix”, it’s a signal. A well-placed outside mount can actually improve the look, softening the proportions and making the window feel larger and more balanced in the room.
A quick measurement now saves you from the most common surprise later: a beautiful product that simply doesn’t sit right in the window.

3.Look at How the Window Moves and What It Shares the Space With
Every window has its own way of “living” in a room. Some open outward, some slide, and some tilt in for cleaning or ventilation, and those movements quietly shape what kind of window treatment will feel natural there.
It helps to take a moment to notice what’s already part of the window’s rhythm. Handles, cranks, locks, and other small details aren’t obstacles, they’re simply part of the design. They just need space to move freely, especially when a shade or blind is adjusting up and down.
The same idea applies to how the window opens. Casement windows swing outward, tilt-and-turn windows rotate inward, and awning styles lift from the bottom. Each movement creates its own flow of space, and the treatment should sit comfortably alongside that motion rather than compete with it.
Even the surrounding frame matters. Trim, molding, or decorative edges can subtly shape how much visual and physical space is available around the window. Sometimes they create a tighter feel, sometimes they frame the window more prominently, but either way, they help define how a treatment will sit within the overall composition.
Once you start looking at these details together, it becomes less about restrictions and more about fit, how everything works in harmony when the window is in use, not just when it’s standing still.
4.Think About How the Window Feels in the Room
Window treatments don’t just dress a window, they change how the entire wall is perceived. For example, an outside mount can visually stretch the window upward and outward, making it feel taller and more present in the room. This is often used when a space feels slightly flat or when a window needs a stronger visual role.
When multiple windows share the same wall, consistency becomes just as important as style. Keeping the same mounting approach and aligning the heights helps the wall read as one unified surface, rather than a series of separate openings. Even if the windows differ in size, a consistent treatment strategy can make the space feel calmer and more intentional, as if everything belongs together naturally.
Once you start seeing your windows this way, individually and as a group, the next step becomes much clearer: how you choose to mount the treatment. Inside mount and outside mount aren’t just installation options; they’re tools that shape both function and visual balance in the room.
Inside Mount vs. Outside Mount: Which Installation Style Is Right for Your Window?
After looking closely at your window’s structure and how it functions day to day, one decision naturally comes into focus: how the treatment will actually sit in the space. At this point, most choices fall into two directions, inside mount or outside mount. There’s no universal “best” option. Instead, it’s about how each one works with your window’s shape, space, and the kind of visual result you want in the room.
Inside Mount: Clean, Built-In, and Architectural
An inside mount sits neatly within the window frame, almost as if the treatment is part of the window itself. The result is a clean, understated look where the frame stays visible and the treatment blends quietly into the architecture of the room. This is why it’s often used in modern, minimalist, or well-finished interiors, it feels precise, light, and visually unobtrusive.
Beyond appearance, inside mounts also create a sense of order in everyday use. When the window has enough depth and a clear, unobstructed frame, the treatment can move smoothly and sit evenly without drawing attention to the installation. It’s a great choice when you want the window shape and structure to remain the main visual focus.
Inside mount is also the primary installation style for many no-drill window treatments, which have become increasingly popular for renters and homeowners who want a cleaner, damage-free setup. These systems rely on the inner frame for support, making them naturally aligned with inside-mount applications.
That said, this style depends heavily on the window itself. Adequate depth, a clear frame, and minimal hardware interference are all important conditions. When these are in place, inside mount delivers one of the most refined and integrated looks available: simple, quiet, and effortlessly tailored to the space.

Outside Mount: Flexible, Forgiving, and Visually Powerful
An outside mount sits on the wall or trim around the window instead of inside the frame. Because it doesn’t rely on the depth of the window opening, it offers much more flexibility when the frame itself is shallow, uneven, or interrupted by handles, cranks, or locks.
In many real homes, this approach quietly solves a lot of practical challenges. It gives the treatment more space to move freely and often allows better coverage, especially when you want to reduce light gaps or create a more complete sense of privacy.
But outside mount isn’t just about problem-solving, it can also shape how a room feels. By extending slightly beyond the window frame, it draws attention outward and upward, making the window appear larger and the ceiling feel higher. The effect is subtle, but it can noticeably improve balance, especially in smaller rooms or windows that feel visually “narrow.”
That’s why outside mount is often the go-to choice for casement windows and other designs with protruding hardware. It works with the structure rather than against it, while also offering a stronger, more framed visual presence in the space.
A Few Simple Questions Can Make the Decision Easy
If you’re still unsure, don’t overthink it, your window usually gives you the answer.
Start by looking at space and structure. If the frame feels deep and open, with nothing in the way, an inside mount will usually feel like the most natural fit. It blends into the window and keeps the look clean and architectural.
If the frame feels shallow, busy with handles or cranks, or you’re simply aiming for stronger coverage and a more defined visual presence, an outside mount will often feel more practical and visually balanced.
And if you find yourself thinking, “Do I want this treatment to disappear into the window or become part of the wall?”, you’re already very close to your answer.

Looking at the comparison, the difference is really about how the treatment interacts with the window itself. Inside mounts work with the frame and highlight its structure, while outside mounts extend beyond it to reshape proportions, improve coverage, and add visual presence.
In most real homes, the choice isn’t about right or wrong, it’s about what the window allows and what kind of effect you want in the space. Once this decision becomes clear, the next step is to see how different window types, like double-hung, casement, bay, or sliding doors, naturally align with specific treatment styles and installation methods.
Best Window Treatments for Different Window Types
Once you start connecting window structure with installation methods, it becomes easier to see clear patterns in what works where. Some combinations simply feel more natural in everyday use, whether it’s smoother operation, better coverage, or a cleaner visual result.
The reference below brings those patterns together so you can quickly match common window types with treatments that tend to work well in real homes.

How to Read This Guide
Think of this chart as a practical starting point, not a fixed rulebook. Real windows often come with more than one condition, limited depth, hardware, sunlight direction, or even how the room is used day to day.
For example, a casement window might also be in a bedroom that needs full blackout control, or a sliding door might sit in a high-traffic living area where durability matters most. In cases like these, it’s completely normal to weigh multiple needs at once.
The key idea is simple: start with what the window needs to function well, then adjust based on how you want the space to look. When function and daily use come first, the right style usually becomes much easier to identify.

Window Treatment Solutions for Wall Layouts and Multi-Window Spaces
Some windows are easy to evaluate on their own. But when windows start sharing the same wall or intersecting at corners, the focus shifts, from individual window selection to overall visual balance.
At this stage, the goal isn’t just choosing the right treatment for each opening. It’s about how everything works together as one composition, how the wall feels when you step back and look at the room as a whole.
Corner Windows: Reduce Gaps with Slim-Profile Solutions
Corner windows often create beautiful natural light from two directions, but the meeting point between the two windows is where things get interesting. Even a small gap can become noticeable when sunlight comes in from different angles.
This is where cellular shades work especially well. Their slim headrail and compact side profile allow the treatment to sit much closer to the corner itself, reducing the space where light can leak through.
For example, in a living room corner window, standard roller shades may leave a visible light strip at the junction. But a cellular shade with a tighter track system can sit closer to the wall, helping the two sides feel more visually connected and reducing that “broken line” effect in daylight.
The goal here isn’t to hide the corner, it’s to let the light feel continuous, while keeping the window edges visually clean and balanced.

Multiple Windows on One Wall: Create a Unified Visual Rhythm
When several windows sit on the same wall, the challenge isn’t fitting them individually, it’s making them feel like part of one intentional design.
Think of a typical living room wall with three evenly spaced windows. If each window uses a different mounting height or style, the wall can start to feel visually fragmented. But when the treatments share a consistent installation line and similar profile, the entire wall becomes calmer and more structured.
For instance, using the same cordless no-drill roller shade style across all three windows creates a continuous horizontal rhythm. Even if the windows differ slightly in width, the matching top alignment makes the wall feel unified, almost like a single architectural feature rather than separate openings.
This approach works especially well in open-plan spaces or dining areas where the wall is constantly in view.
The key idea is simple: instead of treating each window as its own project, you design the wall as one complete surface.

Design Tip: Prioritize Consistency Over Individual Windows
For specialty layouts, homeowners often focus on solving each window independently. In reality, the most successful installations are usually those that consider how all the windows work together as part of the room's overall design. Consistent proportions, mounting styles, and sightlines often have a greater visual impact than the specific treatment chosen for any single window.
Before You Buy: A Quick Final Check
Before placing your order, take a moment to quickly confirm the basics. A few small checks here can prevent most fitting or installation surprises later.
Start with the essentials: window width and height, usable frame depth, handle or crank clearance, and the condition of the mounting surface. These simple details usually determine whether an inside mount, outside mount, or no-drill option will work best.
Then do a final reality check, compare your measurements with the product’s installation requirements. If anything feels tight or unclear, it’s worth taking a few extra photos of the window from different angles before ordering. It helps you see the space more clearly and avoid guessing.
Still Unsure? We Can Help
If your window feels a little tricky, maybe it’s shallow, has protruding hardware, or sits within a multi-window layout, you don’t have to figure it out alone.
You can simply share a few photos of your window (front view, side frame, and handle area). With a clear visual, it becomes much easier to understand the structure and suggest a mounting direction that actually fits your space.
In the end, choosing window treatments isn’t just about finding a style you like, it’s about making sure that style works with the window itself. When you start with the frame, depth, and clearance, the right solution usually becomes much clearer, and the final result feels more natural in everyday use.
Share:
Small Cell VS. Large Cell Honeycomb Shades: Which Is Right for Your Windows?
Roman Shades vs. Roller Shades: Which Window Treatment Is Right for Your Home?